Manual Time Entries
Introduction
The Manual Time Entry feature in Skapp allows users to add or edit their work hours manually. This is particularly useful for correcting missed clock-ins or clock-outs or adjusting work hours due to unforeseen circumstances. Accessible from the My Timesheet page, this feature ensures that users maintain accurate attendance records.
Accessing Manual Time Entry
Navigate to My Timesheet
Users with "Employee" user role in the Attendance Module
- Access My Timesheet directly from the main navigation bar.
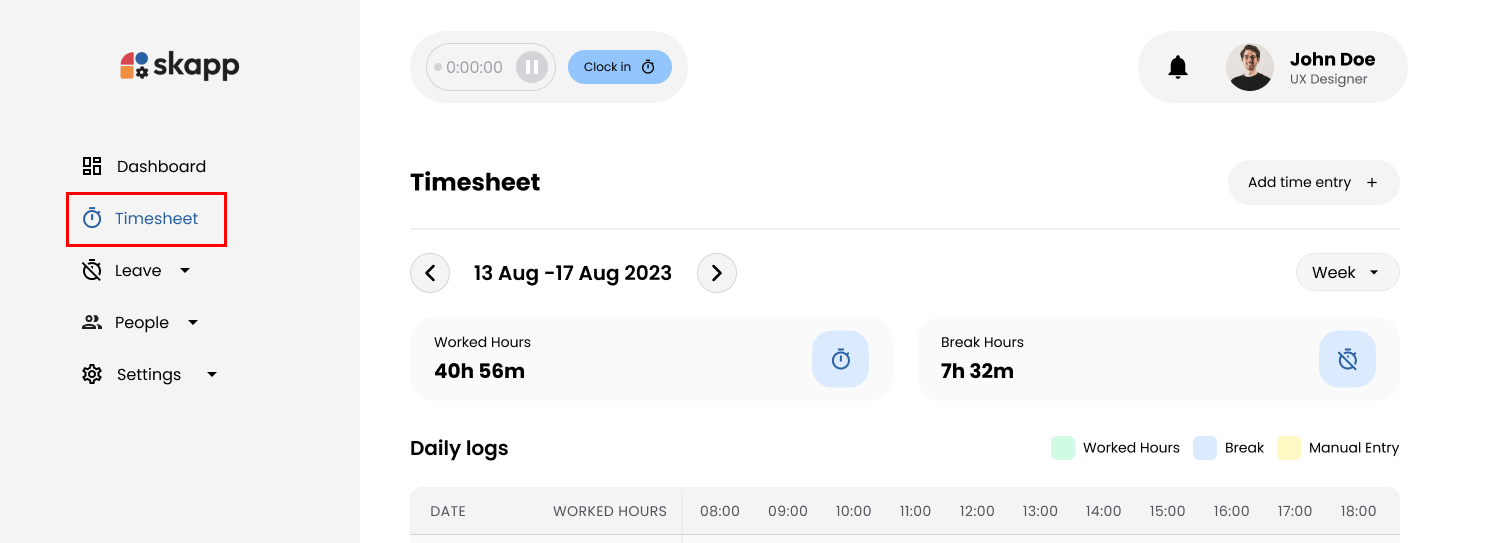
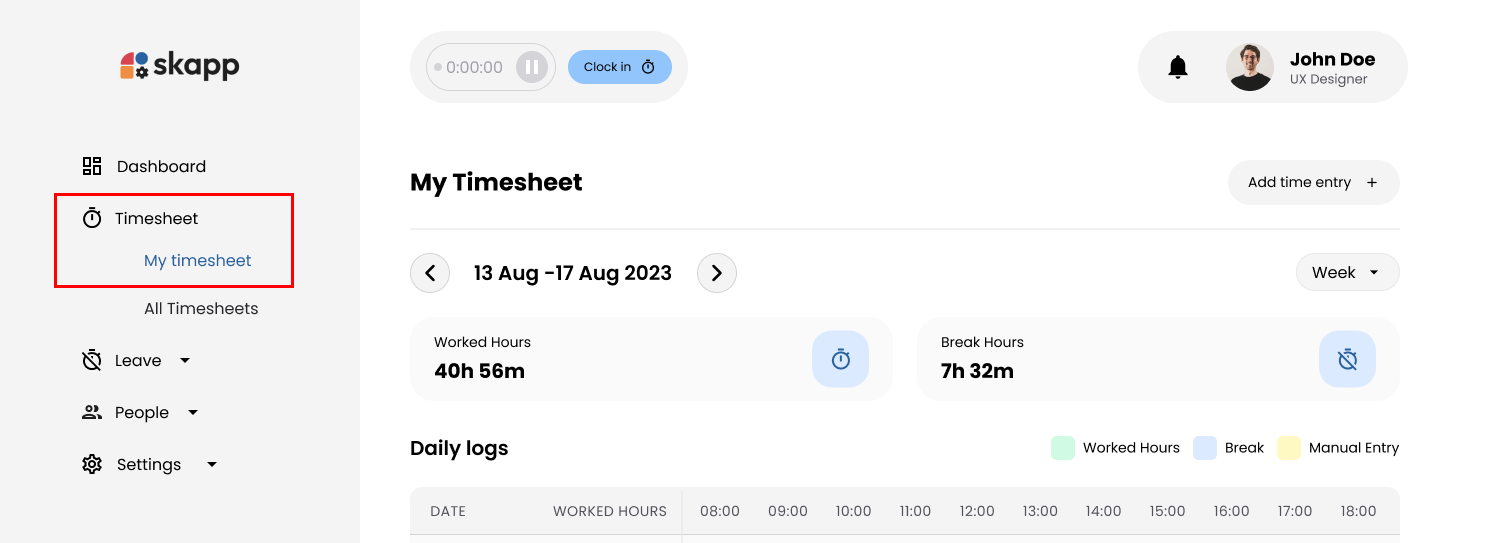
Users with "Super Admin","Attendance Admin or Attendance Manager" user roles
- Navigate to the Timesheet submenu in the main navigation bar.
- Click on My Timesheet.
Adding a Manual Time Entry
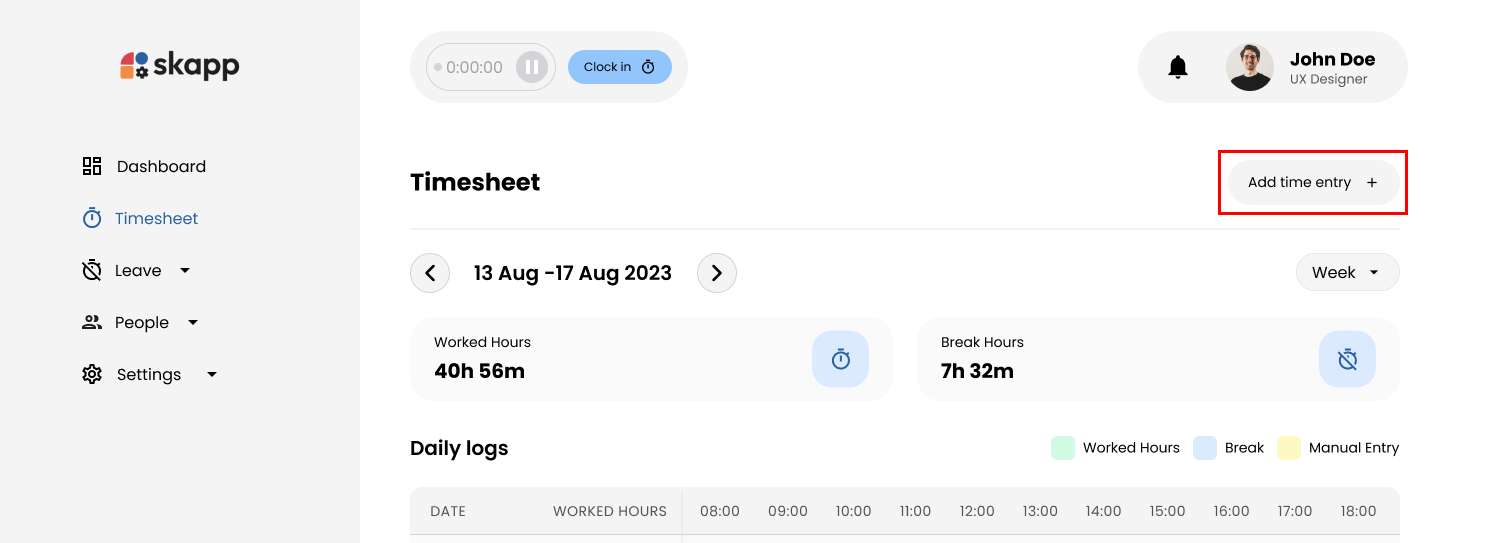
Step 1: Open the Add Time Entry Modal
- On the My Timesheet page, click the Add Time Entry button.
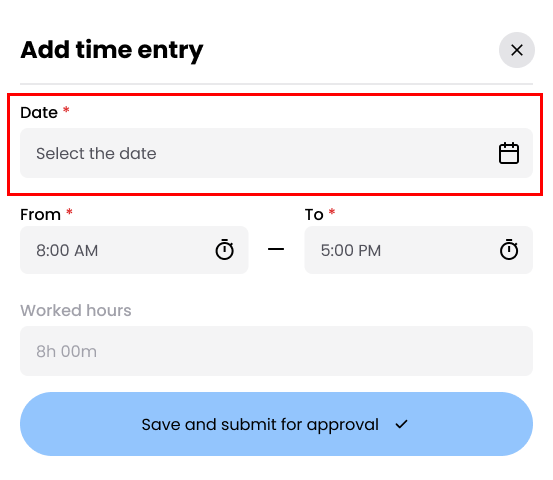
Step 2: Select Date
- Click on the Date field to open the calendar.
- Select the date for which you want to add a time entry.
Important :
- Current Day Restrictions
- If you have not clocked in and clocked out for the current day, the current day is disabled until you do so.
- The system highlights the previous day if you have not clocked in and clocked out.
- The system highlights the current day if you have clocked in and clocked out.
- Date Range
- Only dates within the current year can be selected.
- Leave and Holidays
- The calendar displays existing leave requests and company holidays.
- Be cautious when selecting a date that falls on a leave day or holiday; the system will prompt you accordingly.
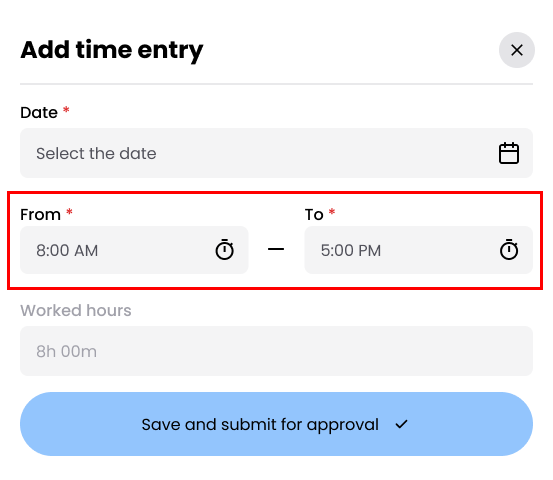
Step 3: Enter From and To Times
From Time (Start Time)
- Click on the From Time field to open the time selector.
- Set the start time of your workday. The default time is the organization's standard work start time.
To Time (End Time)
- Click on the To Time field to open the time selector.
- Set the end time of your workday. The default time is the start time plus the organization's standard work hours per day.
Important:
- The From Time must not be later than the To Time.
- Use the clock component to select hours and minutes by dragging the pointer.
- Choose between AM and PM; selected parts (hours, minutes, AM/PM) are highlighted for clarity.
Step 4: Review Worked Hours
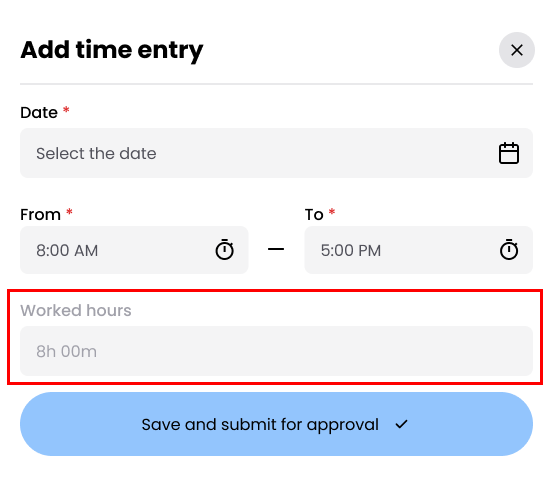
- The Worked Hours field is automatically calculated based on the From and To times.
- This field is read-only and updates dynamically as you adjust the times.
- Ensure that the Worked Hours accurately reflect the time you worked.
Step 5: Submit the Time Entry
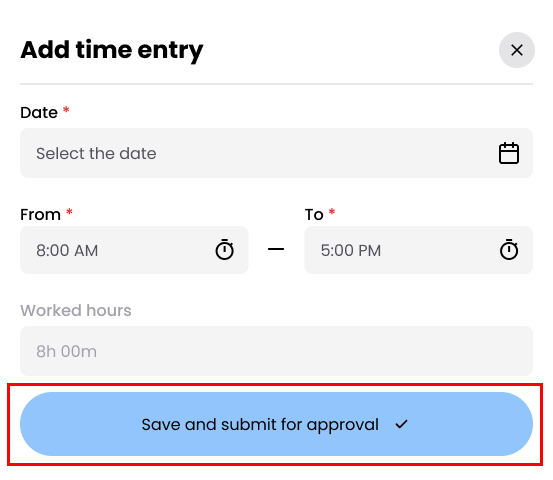
- Click the Save and Submit for Approval button to submit your time entry.
Important
- Upon submission, the time entry is sent to your primary and secondary supervisors for approval.
Special Scenarios
Pending Time Entry Request Exists
- If a pending time entry request exists for the selected date, you are not allowed to submit an another entry for that date untill exisiting time entry get approved or declined.
Existing Time Entry for Selected Date
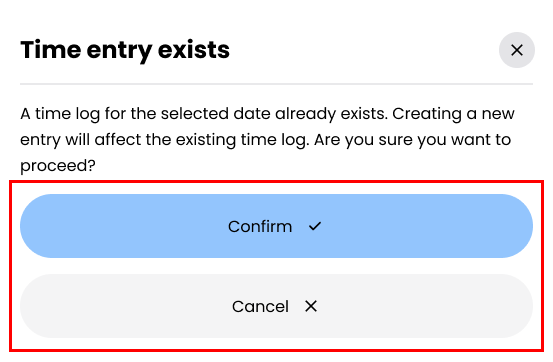
- If a time entry already exists for the selected date, a confirmation modal appears indicating that an entry exists.
- Options:
- Click the Confirm to save and submit the entry
- Click the Cancel to Close the modal and return to the previous state.
- Options:
Time Entry on a Leave Day
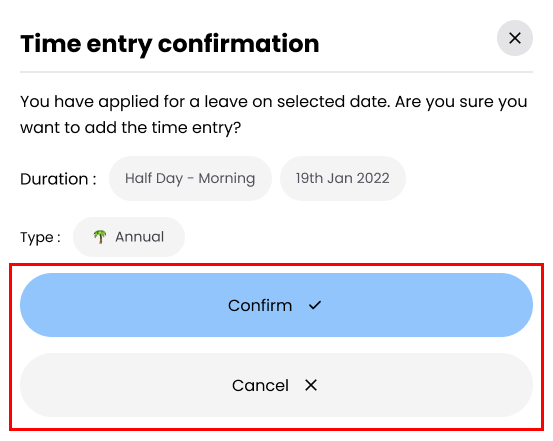
- If you have applied for a leave request for the selected date, a confirmation modal appears informing you about the leave.
- Click the Confirm to save and submit the entry.
- Click the Cancel to Close the modal and return to the previous state.
Editing a Time Entry
Step 1: Open the Edit Time Entry Modal
- On the My Timesheet page, click on a day that has a logged time.
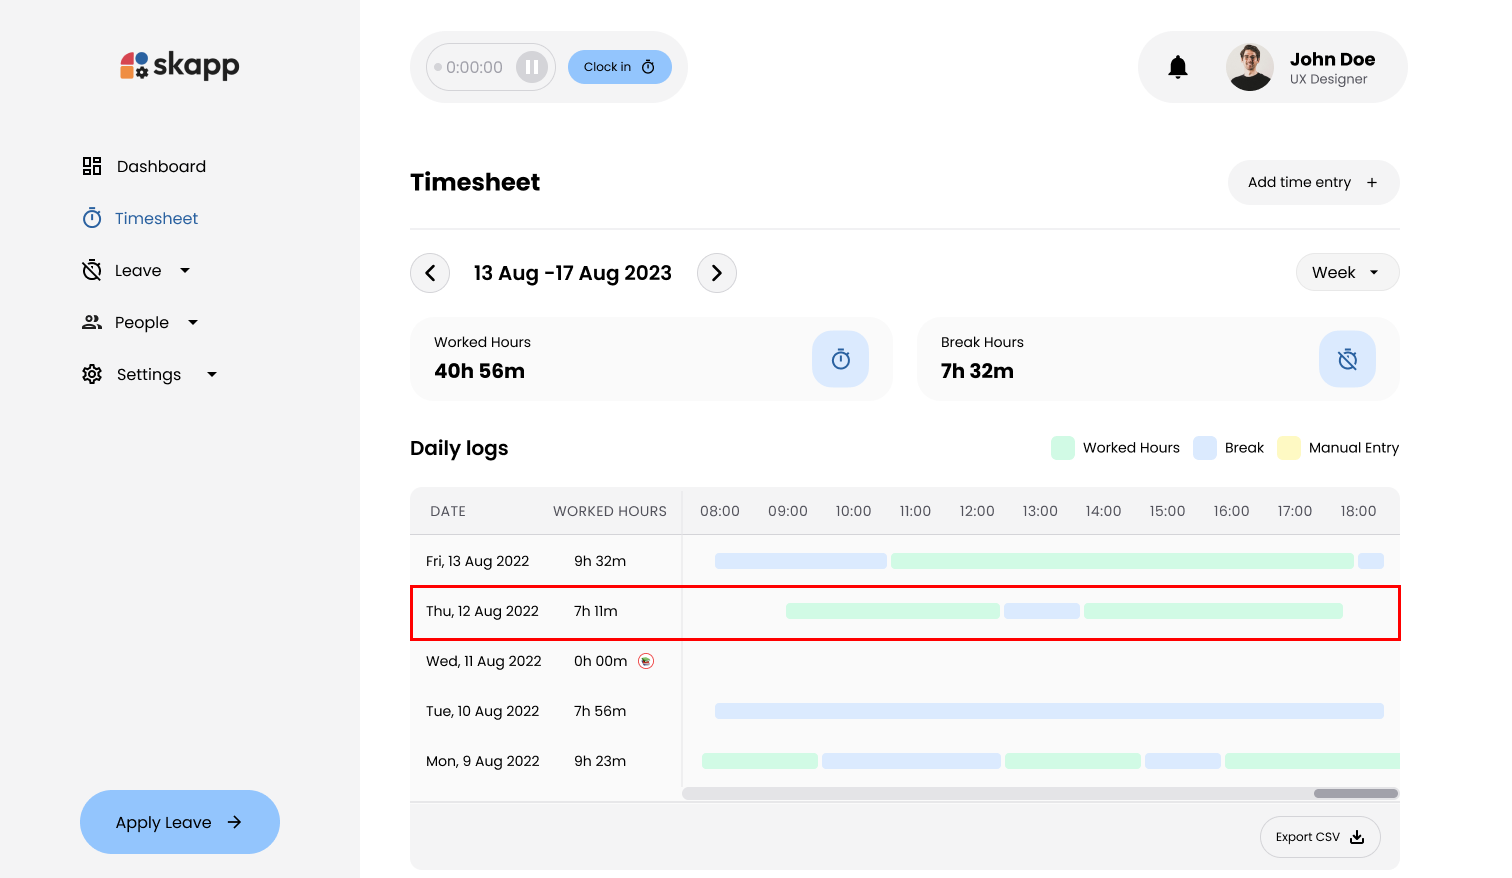
- This action opens the Edit Time Entry modal.
Step 2: Modify Times
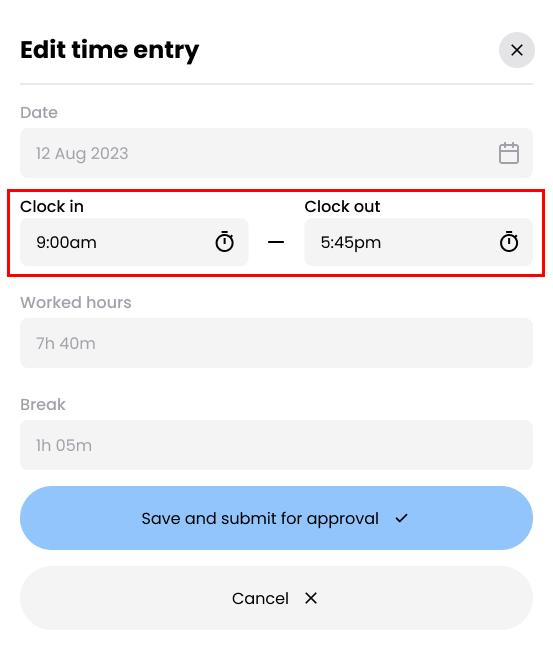
Clock In Time:
- Click on the Clock In Time field and adjust the time using the time selector.
Clock Out Time:
- Click on the Clock Out Time field and adjust the time using the time selector.
Important
- The Clock In Time must not be later than the Clock Out Time.
- The Worked Hours field updates automatically based on your changes.
- Break Hours remain unchanged and are displayed as read-only.
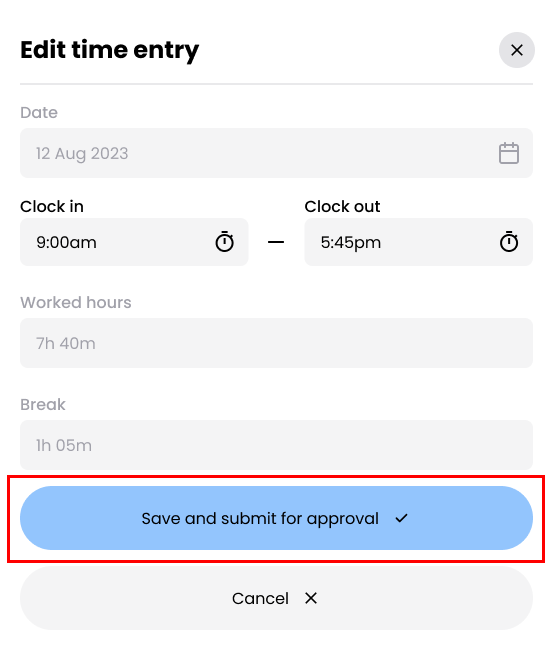
- The Save and Submit for Approval button is enabled only if changes have been made to the time fields.
Step 3: Submit the Edited Time Entry
- Click the Save and Submit for Approval button to submit your changes.
- Changes are sent to your primary and secondary supervisors for approval.
Important
- If you have an ongoing time entry you are not allowed to edit that time entry.
Canceling a Time Entry Request
Step 1: Locate the Pending Request
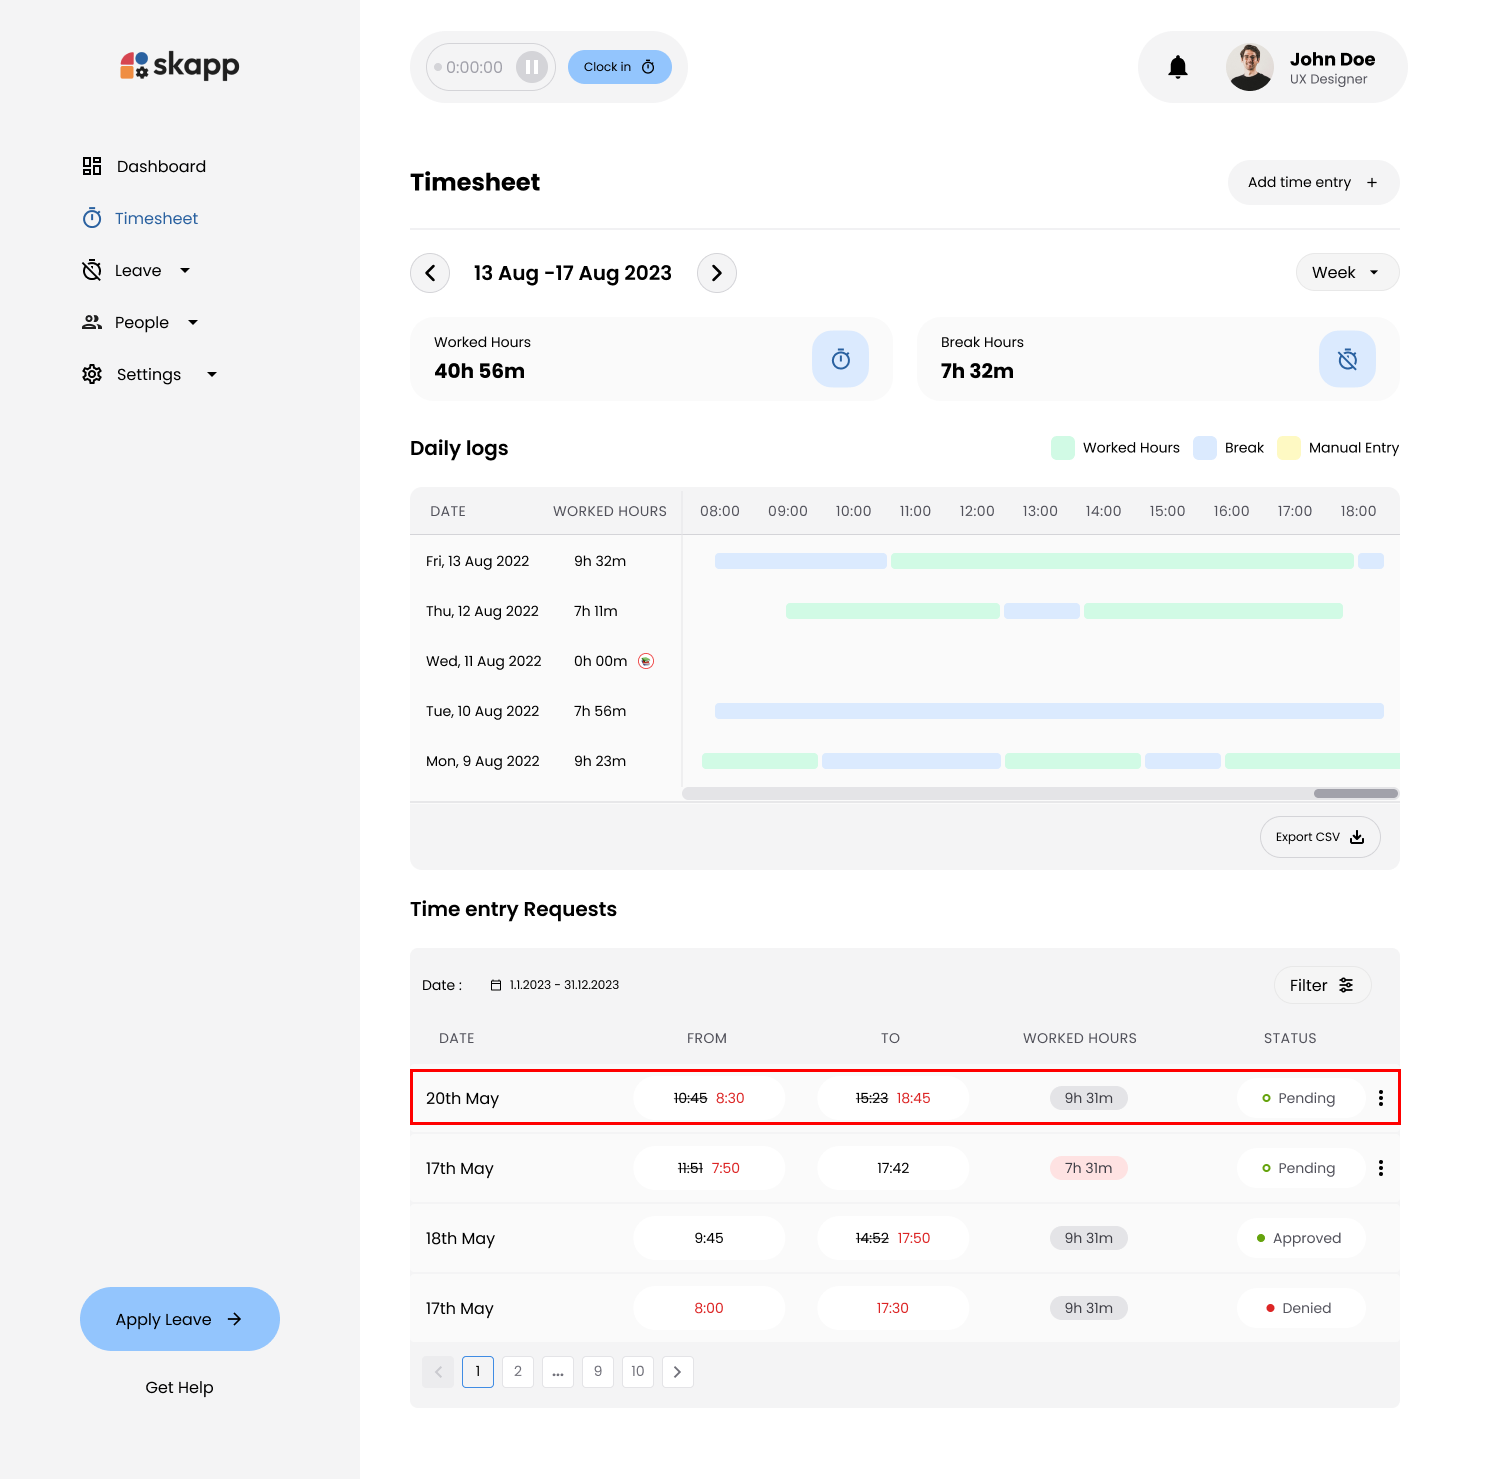
- On the My Timesheet page, navigate to the Time Entry Requests section.
Step 2: Cancel the Request
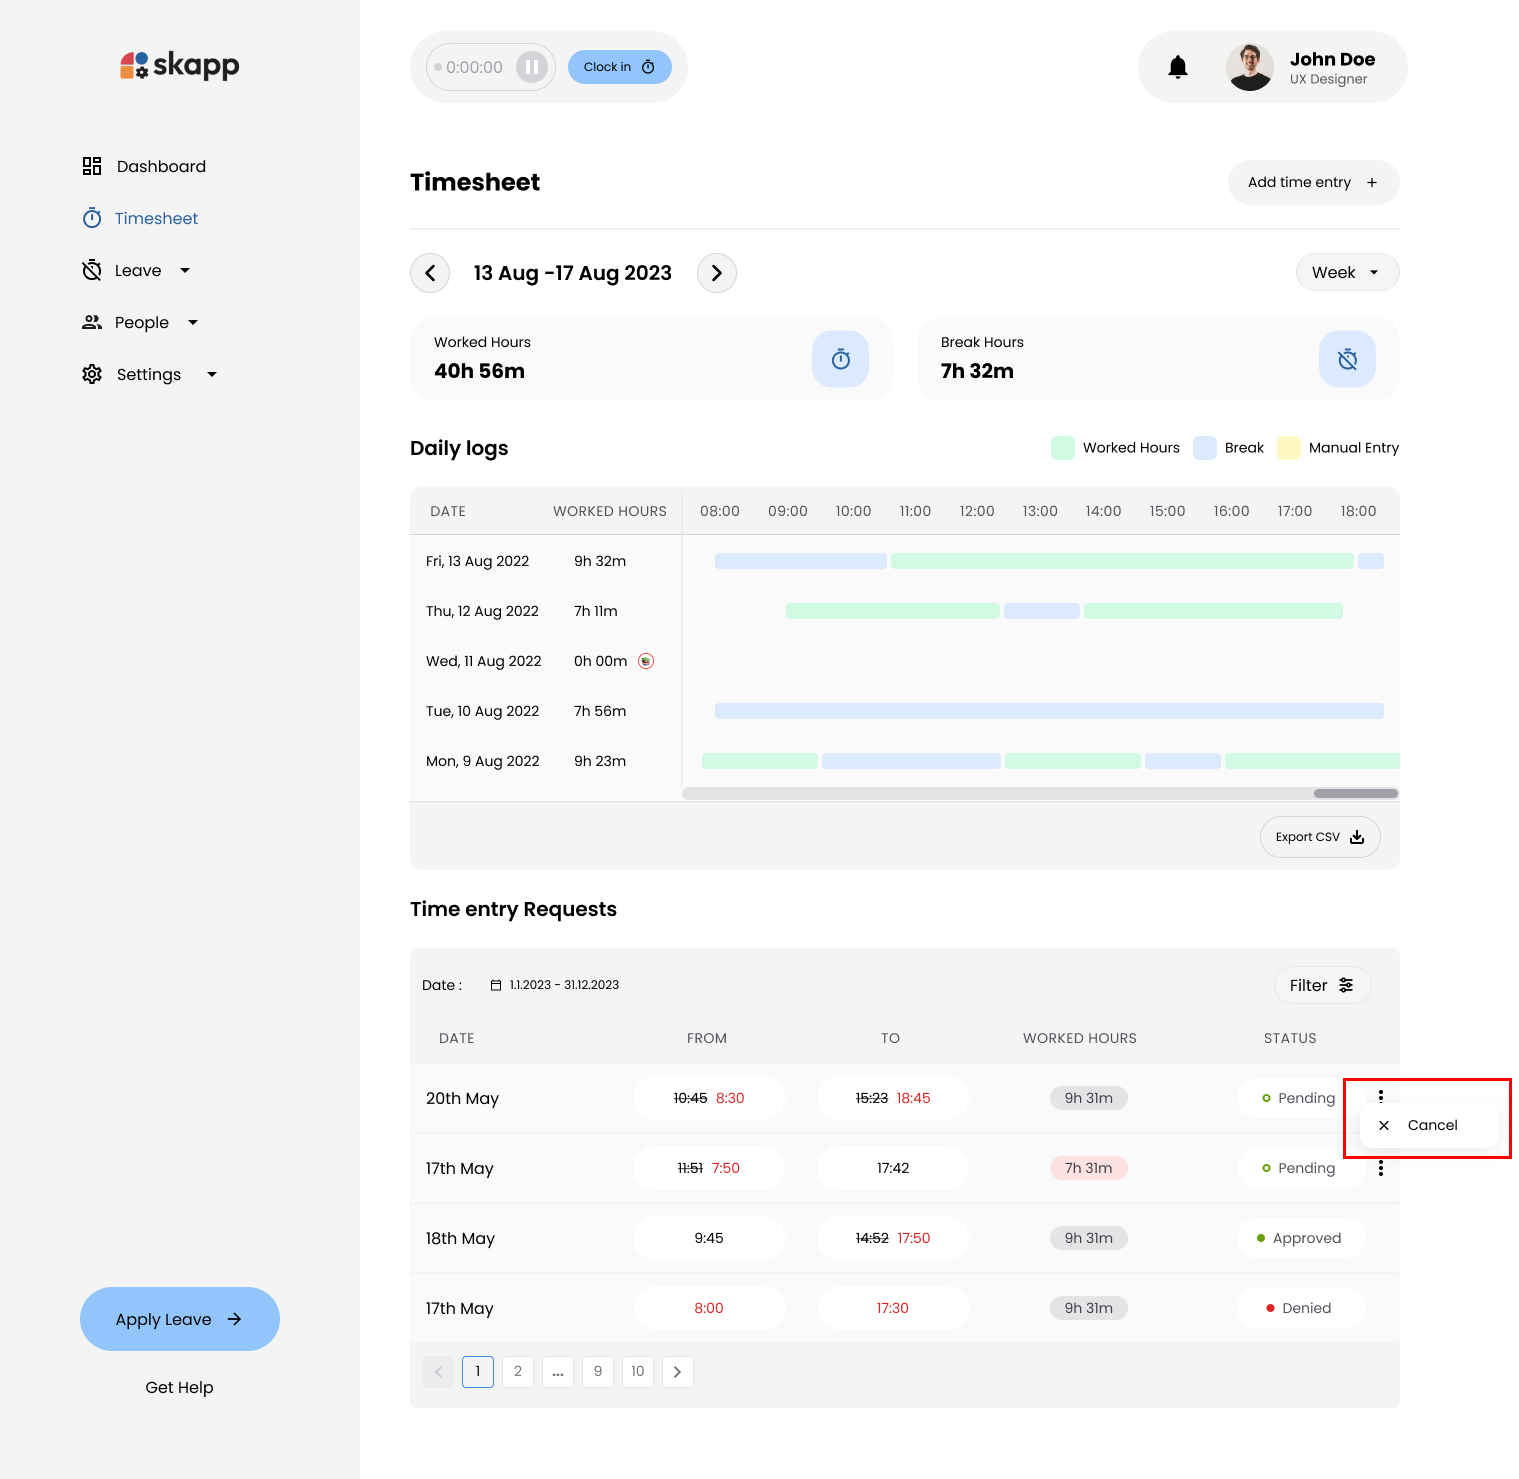
- Click on the kebab menu (three vertical dots) for the pending request.
- Select the Cancel option from the dropdown menu.
Important
- Only pending requests can be canceled.
- Once canceled, the request status updates to Cancelled.
- Canceled requests cannot be edited or resubmitted; you must create a new request if needed.